The effective sealing of pumps and valves depends on the overall condition of each component, and it is essential to ensure that the equipment needing sealing gland packing replacement has been effectively isolated according to the on-site and system requirements. Proper installation of sealing gland packing is also crucial to ensure sealing effectiveness.
Sealing Gland Packing Installation Guidelines:
1)Follow the installation guidelines used for pump sealing gland packing.
2)Rotate the valve stem before and after installation to ensure smooth rotation.
3)Before startup, inspect the valve, and if any leaks are found, adjust accordingly following the relevant safety maintenance procedures and manufacturer’s recommendations.
The installation steps are as follows:
1, Pre-installation Preparation:
-
- Remove the old sealing gland packing using specialized tools and thoroughly clean the gland packing.
- Check the gland packing for any damages or eccentricities that may affect the performance of the gland packing.
- Inspect other components for usability and replace any damaged parts.
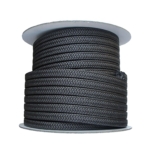
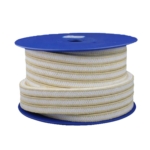
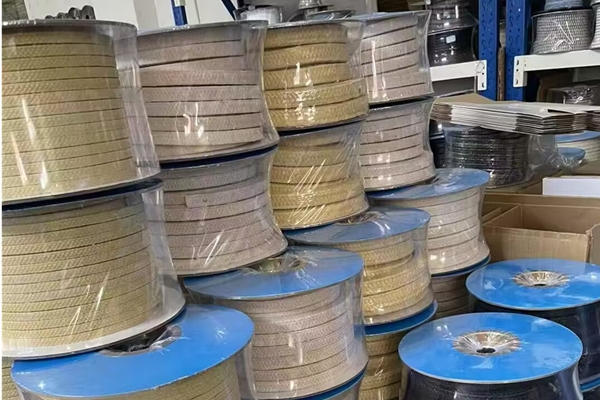
- Select Suitable Sealing Gland Packing:
- Consider the operating conditions and select gland packing that matches the system’s requirements. Use relevant technical data to make the appropriate choice. Seek advice from a sales representative if needed.
- Choose the correct size of gland packing based on the sealing requirements. Calculate the cross-sectional area using the formula: Cross-sectional area = (gland packing diameter – Shaft diameter) / 2. If the device has damages, opt for slightly larger cross-sectional gland packing to compensate for the defects.
- Cutting and Installation of Sealing Gland Packing:
- Choose the appropriate gland packing and cut precise lengths using cutting machinery. If cutting machinery is unavailable, use the formula L = (Shaft diameter + Gland packing width) x 1.07 x π for cutting. Cut straight at 90° for rotating shafts and at 45° for valves. Avoid using the stuffing box to determine the length. Instead, cut a sample gland packing ring and check its fit and interface for any gaps. Use this sample ring as a standard to cut the rest of the gland packing rings. For reciprocating pumps, place guide rings at both ends and the middle of the gland packing to maintain concentric movement and counteract the gravity of the plunger.
- Tightening and Starting the Pump or Valve:
- After installing the sealing gland packing, tighten the bolts evenly, using a torque wrench or appropriate measuring device to ensure even pressure on each nut.
- Start the pump or valve in a no-load condition and observe for any abnormalities. Then run the equipment while carefully watching for any over-tightening or under-tightening that could cause significant leakage or damage to the packing.
- During startup, allow for a specific leakage rate as the gland packing positions and starts functioning.
- After running for approximately 15-30 minutes, retighten the bolts until the leakage is within the allowable range. For PTFE gland packing, a recommended leakage rate is 8-10 drops per minute to allow for heat dissipation and thermal expansion.
- Valve Startup:
- Most valves are designed for zero leakage. To achieve this, apply adequate pressure on the packing to ensure a tight seal.