Gland packing continues to be the sealing solution of choice in valves and pumps across various industrial sectors, due to its reliability, cost-effectiveness, and ease of maintenance. However, gland packing’s performance relies heavily on precise and meticulous installation. Professional installation ensures leak-free operation, extends equipment life, reduces downtime, and enhances overall operational efficiency.
This complete guide provides a detailed, step-by-step gland packing installation procedure for valves and pumps, ensuring the optimal sealing results industry professionals demand.
Why Proper Gland Packing Installation Is Necessary
Correct gland packing installation is not merely a routine task—it’s critical to the sealing integrity and operational reliability of your equipment:
For Valves: Expert installation prevents leakage, reduces stem friction, maintains optimal sealing under varying pressures, and significantly extends packing life.
For Pumps: Properly installed gland packing minimizes leakage, protects shaft sleeves, controls heat generation, and ensures reliable and efficient pump operation under dynamic conditions.
By following precise, engineering-based procedures, professionals can reduce leakage, wear, and operational disruptions, thus driving higher productivity and cost-efficiency.
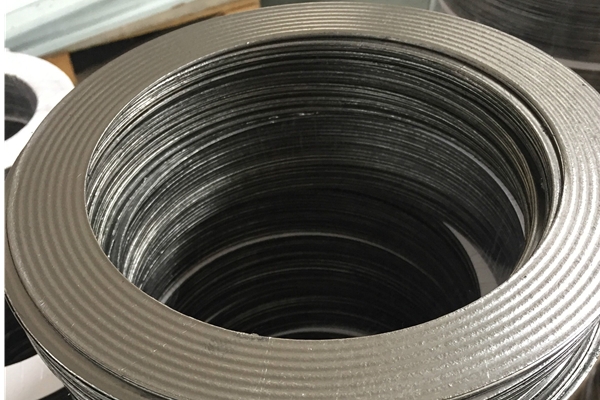
Section 1: Valve Gland Packing Installation
Step 1: Removal and Inspection
Packing Removal: Use specialized packing hooks to carefully remove all existing packing rings without damaging the stem or stuffing box surfaces.
Cleaning and Surface Check: Thoroughly clean the stuffing box and valve stem to eliminate contaminants. Inspect carefully for scoring, scratches, corrosion, or excessive wear. Replace any components exceeding recommended surface roughness—valve stems above 0.8 μm or stuffing boxes exceeding 3.2 μm.
Step 2: Dimensional Verification
Precise Measurement: Use calibrated instruments to measure valve stem diameter, stuffing box bore diameter, and depth precisely.
Selecting Packing Size: Calculate the correct packing thickness:
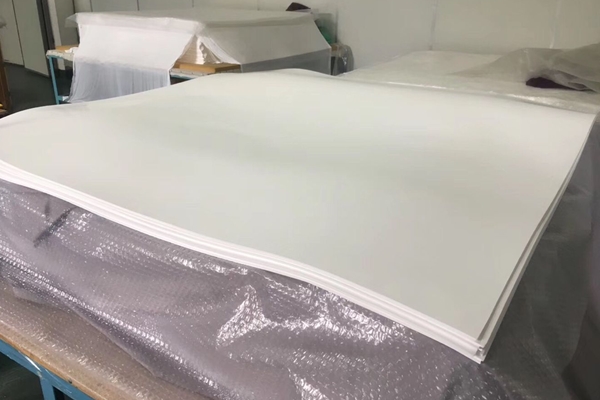
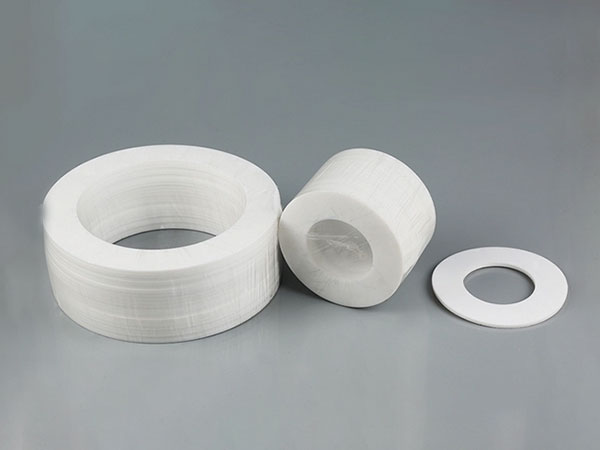
Step 3: Ring Preparation
Cutting Technique: Employ a mandrel identical to the stem diameter to wind packing yarn snugly and cut clean, individual rings with angled (45°) butt joints. Avoid spiral winding.
Fit Verification: Place each packing ring into the stuffing box bore, ensuring precise fit without gaps or overlaps.
Step 4: Layered Installation
Sequential Placement: Insert rings one at a time, gently seating each using a gland packing tamping tool or gland follower to maintain uniformity.
Joint Alignment: Offset each ring joint by at least 90° from the previous one to eliminate direct leakage paths.
Controlled Compression: Gradually tighten gland follower nuts, applying uniform torque to achieve recommended compression (typically 25–35%). Document torque settings for consistency.
Step 5: Commissioning and Adjustments
Valve Cycling: Operate the valve through at least five complete open-close cycles, retorquing gland nuts after each cycle to maintain proper packing compression.
Leakage Check: Confirm minimal leakage consistent with valve requirements. Adjust gland nuts as needed until optimal performance is consistently maintained.
Section 2: Pump Gland Packing Installation
Step 1: Disassembly and Surface Preparation
Complete Removal: Carefully remove all existing packing rings, lantern rings, and debris with packing hooks, protecting the shaft and sleeve from damage.
Component Inspection: Inspect shafts, sleeves, and stuffing boxes dimensionally and visually. Replace any excessively worn or damaged components immediately.
Step 2: Accurate Measurement
Dimension Check: Measure shaft diameter, stuffing box bore, and depth with precision instruments, ensuring accuracy to within 0.01 mm.
Ring Sizing Calculation: Determine the correct packing ring cross-section using the formula:
Ring cross‑section = (Bore Ø – Shaft Ø) ÷ 2
Step 3: Cutting and Preparation of Packing Rings
Mandrel Technique: Utilize a mandrel matching the shaft diameter to wrap and precisely cut individual packing rings, ensuring angled butt joints for optimal sealing.
Fit Check: Confirm that each ring slides into the stuffing box with uniform friction, without gaps or excessive force.
Step 4: Installation and Lubrication
Sequential Ring Placement: Insert each ring individually into the stuffing box, lightly lubricating the inside surfaces with compatible packing lubricant to reduce friction and facilitate seating.
Joint Staggering: Offset each packing ring joint by at least 90°, creating a barrier against potential leakage paths.
Firm Seating: Use a packing tamping tool or gland follower to seat rings firmly and uniformly.
Step 5: Lantern Ring Integration (When Applicable)
Correct Positioning: Place the lantern ring accurately below the flush port to maintain proper fluid circulation and cooling within the stuffing box.
Step 6: Initial Compression and Pump Startup
Initial Tightening: Hand-tighten gland nuts evenly to achieve initial compression without binding or distortion.
Startup Procedure: Gradually tighten gland nuts while slowly ramping up the pump speed, closely monitoring leakage rates to achieve the manufacturer-recommended drip rate.
Step 7: Fine-tuning Leak Rate and Thermal Management
Controlled Leakage: Allow an initial controlled leakage to cool the packing and shaft. After approximately one hour of operation, incrementally adjust gland nuts (one flat at a time) until the desired leakage rate is achieved.
Thermal Checks: Continuously monitor stuffing box temperature to prevent overheating. Maintain operating temperatures typically below 60°C to preserve packing integrity.
Except Tips for Good Performance
Specialized Tools: Always use purpose-built tools like packing hooks, tamping tools, and calibrated torque wrenches to ensure precise installation without damaging components.
Clean Work Environment: Maintain strict cleanliness around the installation site to avoid contamination that can reduce sealing performance.
Uniform Compression: Apply equal torque to gland nuts to ensure balanced packing compression and prolonged service life.
Regular Maintenance: Frequently inspect and adjust gland packing post-installation to sustain optimal performance and proactively manage wear.
Elevate Your Sealing Efficiency
In gland packing installation, attention to detail guarantees performance. Follow this detailed installation guide to enhance sealing performance in valves and pumps, resulting in reliability, efficiency, and cost savings.
Looking for advanced gland packing solutions or expert technical advice tailored to your specific sealing challenges? Contact our sealing specialists today to achieve excellent sealing performance.